A Paper Map for a Walk Through an Unfamiliar Park
A paper map for a walk through an unfamiliar park helps you choose clear landmarks, avoid needless backtracking and keep room to change plans.
The common mistake with a paper map for a walk through an unfamiliar park is choosing a route before working out which way the map faces. The cost is usually a muddled first turn, followed by checking the same junction twice. A short planning routine can spare you that small but irritating beginning without turning a walk into a military exercise.
When north feels unclear
A map may be printed with north at the top, but the path ahead rarely obliges by running north. Look first for a north arrow or compass mark. If the map has neither, check whether its edges align with a labelled grid or another clear directional clue; do not assume that the top edge tells the whole story.
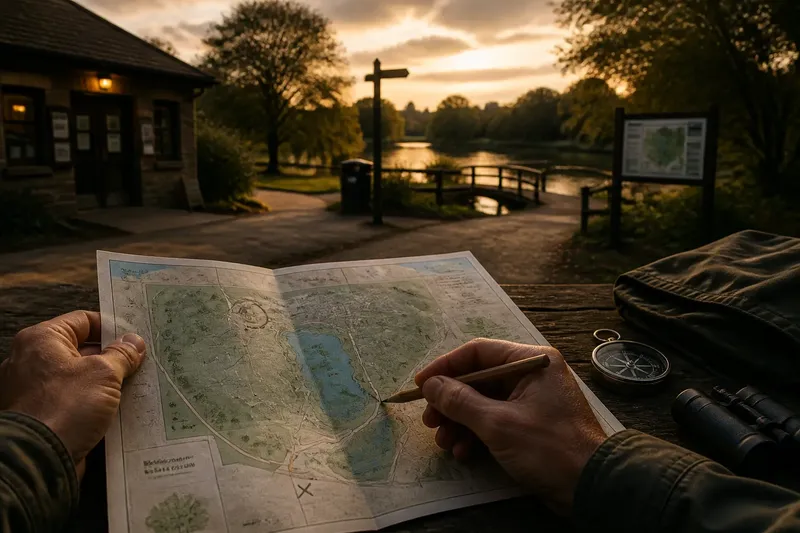
At the park entrance, find a feature you can see and recognise on the paper: a pond, a car park, a visitor centre or a bridge. Turn the map until the feature’s position on paper matches its position around you. If the pond lies to your left on the ground, it should also lie to your left on the map when you face the direction shown by the route ahead.
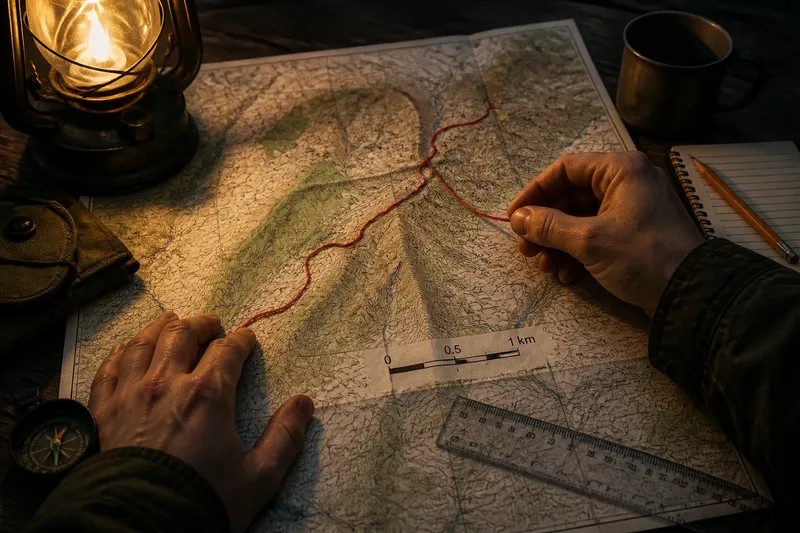
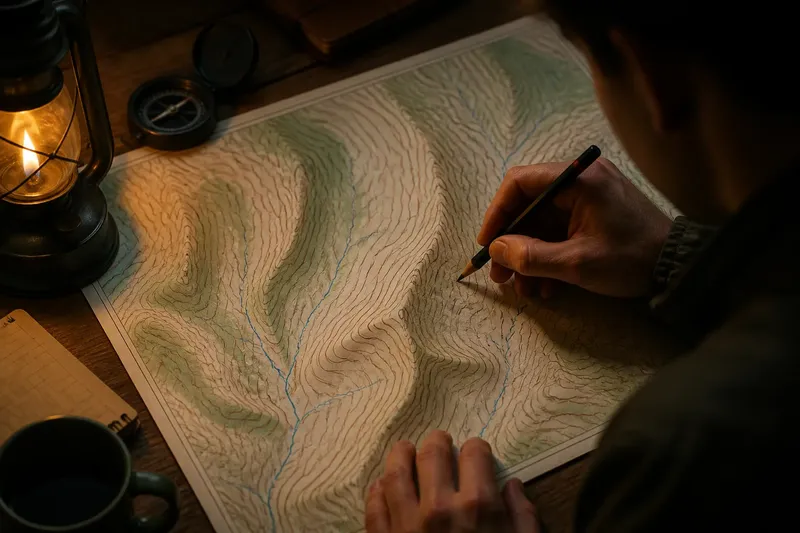
Keep the map oriented as you move, or make a small pencil mark showing your starting point and the direction you intend to go. A compass can help when the landscape offers few obvious clues, but it is not compulsory for a short walk on signed paths. The useful result is not perfect alignment; it is knowing which side of the path to expect the next recognisable feature.
When the route looks too ambitious
A printed line can make a circuit look simple even when it crosses several forks, changes direction often or passes through areas where paths are close together. The usual cause is planning from the shape of the line rather than the decisions it asks you to make. Choose a route with a clear beginning and a modest number of junctions you can identify.
Trace it with a finger from the entrance to a destination and back, noting the main turns in plain language: “left at the pond, right at the bridge, then follow the broad path to the garden.” If the map names paths, use those names; if it does not, use visible features instead. Avoid relying on a sequence of vague instructions such as “keep right” when several tracks run alongside one another.
Say you enter an unfamiliar park beside a visitor centre and want to reach a lake before returning. You mark the centre, choose the broad path that passes a footbridge, and use the lake as the turning point. If the bridge is easy to identify but the lakeside paths branch, you can pause there and choose a return route from the map rather than committing to every bend in advance.
When landmarks blur together
Too many landmarks make a route harder to remember, not safer. Select a few distinctive points that are both marked on the map and likely to be visible: a bandstand, a footbridge, a pond edge or a named gate. A patch of trees or a generic path junction may be less useful if the park contains several similar ones.
For each landmark, ask what decision it helps you make. The entrance confirms your starting point; the bridge confirms that you are on the intended path; the lake provides a natural place to pause or turn back. If a feature has no role in checking your position or choosing what to do next, it need not become part of the plan.
- Mark the entrance as the start and return point.
- Choose one obvious feature before the first significant turn.
- Use a distinctive mid-route landmark to confirm progress.
- Pick a destination that is easy to recognise from more than one path.
- Note a nearby alternative route or exit in case you want a shorter walk.
Use a pencil rather than a thick marker, and keep marks light enough to revise. A folded map can be easier to handle, but fold it so the route and the nearest useful labels remain visible together. There is little value in making a beautiful annotated map if the annotations disappear inside the fold.
When paths do not match
Park maps simplify reality. A path may be blocked, newly surfaced, temporarily closed or difficult to distinguish from a service track. Sometimes a map is old; sometimes a fork is simply harder to read on the ground than it looked on paper. Treat a mismatch as a reason to pause, not as a reason to press on and hope the map catches up.
Check the nearest named or distinctive landmark, then compare the direction of the path you are on with the route you planned. Look for park signs and local notices, which may explain closures or show a current diversion. If the route is still uncertain, return to the last point you can identify or choose a signed path towards an entrance. Do not cross a barrier or leave a public path merely to make the paper line fit.
Park maps and signs can differ in how they name paths or mark access; follow posted rules and any relevant instructions for the site. A map is a planning aid, not permission to enter a closed area.
When plans need room
A pre-walk plan should make decisions easier, not turn every detour into a failure. Mark the route you prefer, then identify a simple way to shorten it: an earlier exit, a path back to the entrance or a loop that can be left part-way through. This matters if the weather changes, the ground is muddy or a path is busier than expected.
Leave a blank margin beside the route for a brief note such as “return via the garden path”. On arrival, check for closures, event notices or temporary diversions before setting off. If the posted information changes your plan, update the pencil line or choose a different landmark rather than trying to remember two competing routes.
Questions before setting off?
How do I orient a park map?
Use its north arrow or other directional marking, then turn the paper so a recognisable feature matches the view around you. A pond, entrance building or bridge is usually a better starting point than an indistinct patch of woodland.
Should I plan a loop or an out-and-back?
Choose the shape that is easiest to follow on the map and simplest to recognise on site. An out-and-back uses familiar ground on the return; a loop offers variety but asks you to keep track of more junctions.
What if a path is closed?
Follow the posted diversion or select a signed route towards a recognised landmark or exit. Do not try to bypass a closure to preserve the route you drew at home.
Is a paper map enough on its own?
For a straightforward walk on marked park paths, it may be sufficient, but conditions and park layouts vary. Keep your phone or another means of seeking assistance available if the outing or location calls for it.
What not to overdo
There is no need to copy every path, count every fork or calculate a precise walking time before an easy park visit. Those details can create more work without improving your ability to recognise the next turn. A paper map for a walk through an unfamiliar park is most useful when it shows a clear start, a handful of dependable landmarks and one sensible way to adjust. Before leaving, check that you can point from the entrance to your first landmark without turning the map around in a small, private ceremony.